AMD is one of the most famous companies manufacturing CPU processors. The best part of its products is that they are available for every budget. Though these processors have various advancements and characteristics, they differ from their Intel counterparts.
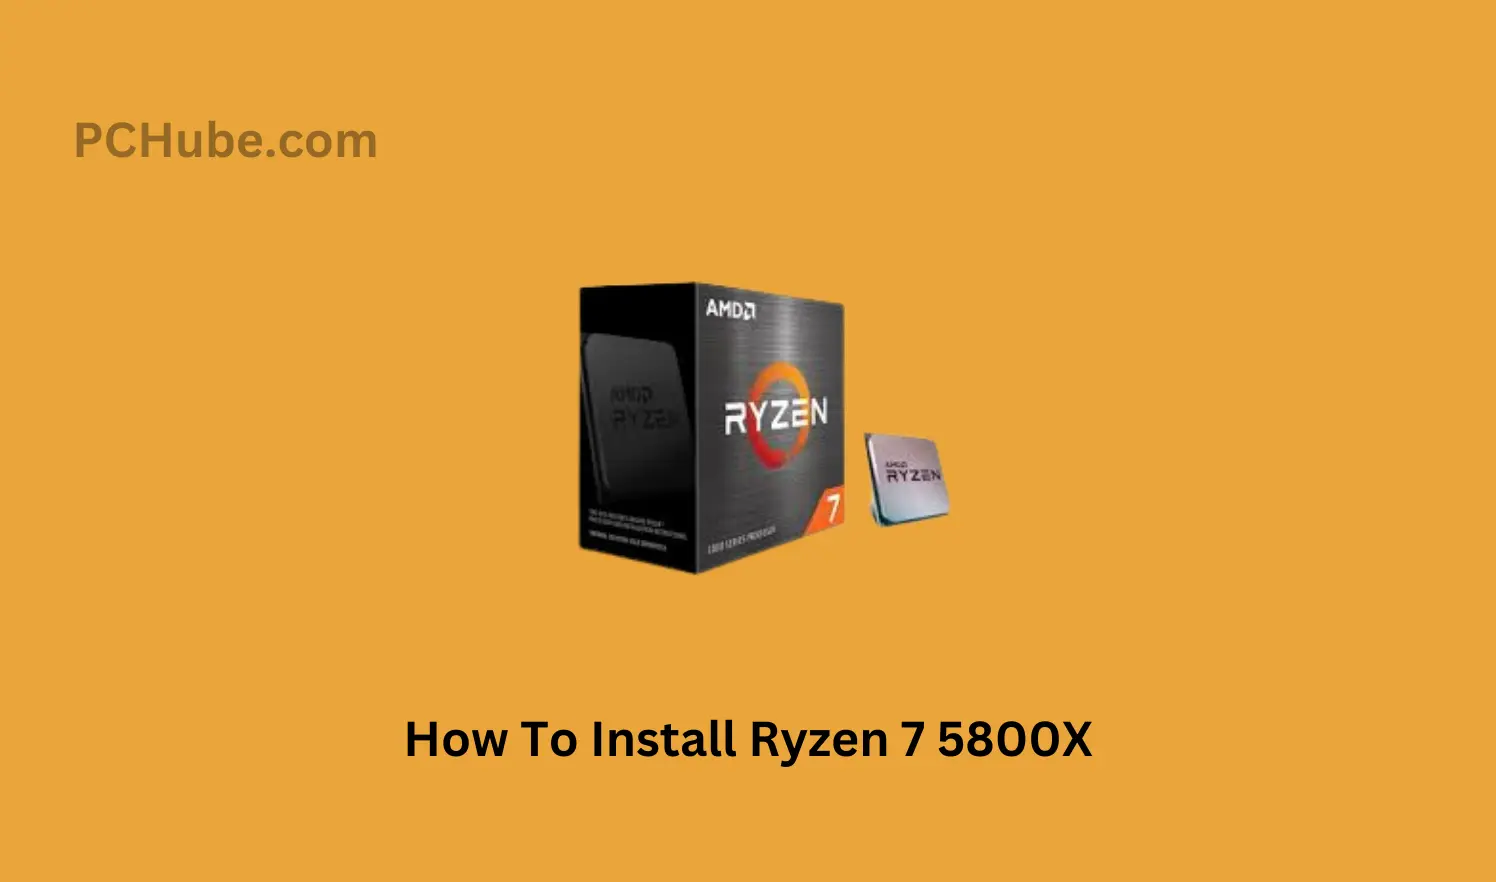
These chips have many benefits, but installing them can be challenging. If you are looking for ways to install Ryzen 7 5800X, a well-known processor from AMD, don’t worry because the following guide can help you in many ways. The following article explains how one can install Ryzen 7 5800X.
How To Install Ryzen 7 5800X?

What Do You Need To Install Ryzen 7 5800X?
To initiate any process, the first thing one must do is collect all the things required. The same is the case with the Ryzen processors’ installation. The things required for this installation are the CPU, a motherboard, and a cooler. If the cooler uses a pre-applied heat paste, you don’t need anything else, but if it doesn’t come with a heated paste, you must purchase some separately.
Furthermore, you should keep a lint-free cloth with you during the process and isopropyl alcohol. You should keep a screwdriver depending on the type of cooler you use. Besides these components, I prefer using an anti-static wristband that prevents the electric charges from traveling to your components. Make sure to install your processor on a non-conducting surface for additional protection.
Steps To Install Ryzen 7 5800X
1. Install The CPU
Once you gather all the essential tools required for the process, it’s time to initiate it. Unlike Intel counterparts, AMD processors contain pins on the chips for easy installation. Although these pins result in easy installation, they are less durable and can break easily due to bending or pressure. Therefore, you must be careful when installing your AMD processors to prevent damage to these pins.
All you need to do is locate the CPU socket on the motherboard and lift the retention arm vertically. To avoid inconvenience, ensure your motherboard insert has no plastic cover. This process may vary if you replace your old CPU with a new one because you must remove the old CPU and its cooler from the motherboard before installing the new one.
After unboxing your new AMD Ryzen 7 5800X CPU, look for a small golden triangle on its underside. The golden triangle is in coordination with your motherboard CPU Socket’s indented triangle. These small parts play a significant role in installing the chip more effortlessly. Now, place the CPU chip on the socket and ensure all its pins slide into their respective ports without bending or breaking.
As I mentioned above, you must not apply pressure on these pins. Hence, perform this step gently. After ensuring your CPU is in the correct position, press the retention arm into its original place on the socket. Pressing the retention arm requires a little force, but you must not apply additional force.
2. Install The Cooler
You might know AMD processors don’t work without a cooler for a long time. In other words, AMD processors require a cooler for their better functioning. Therefore, the next step after installing the CPU is to install the cooler. Most CPUs come with a cooler, but you can purchase it separately if your CPU doesn’t have one. As I mentioned earlier, installing your CPU and cooler depends on the cooler you use.
To install a cooler, you must have access to the rear of your motherboard. You can access it by removing the back panel from your PC chassis. No matter what cooler you use, its primary job is to gain heat from the CPU.
Most advanced coolers come with a pre-applied heat paste, so you can easily install it without worrying about its paste. In contrast, some coolers don’t come with a pre-applied paste, so you must purchase a paste separately. You can try different methods to apply the paste to your cooler. The easiest way is to use a small amount of the paste and add it to the center of the chip.
You can remove the excess amount with the help of isopropyl alcohol and the cloth. After applying the paste, it is time to install the cooler. You can do so by reading the user manual. Hold the cooler in place and screw all its parts slowly for precise installment. After screwing its parts equally, plug its fan header into the motherboard.
3. Test It Out
After installing the cooler, your CPU is ready to function. Start your system and check whether the new CPU boosts your operating system. If you are satisfied with its performance, you installed your device correctly. Now, you should use the overclocking method to increase your device’s CPU multiplier for better performance.
Moreover, you can check if the CPU cooler is working fine with the help of a temperature-sensing application that tells if your CPU is cooled or not. In case of no reboot in your operating system, consider reinstalling your CPU.
FAQs
AMD is one of the most popular companies that manufacture CPU processors. Ryzen 7 5800X is one of its best-selling processors because of its advanced characteristics. You can follow the above steps to install it on your system.
Unlike Intel counterparts, AMD processors have a different installation process. The processors contain pins on their chips for easy installation, but you must be careful when installing them to prevent these pins from bending and breaking.
You might know AMD processors can’t function properly without a cooler. Therefore, you must install a cooler with these processors. Some CPUs come with a cooler, but some packages don’t include a cooler. You can purchase it separately. Try using a cooler with a pre-applied heat paste for better performance.
Finalizing
The above guide contains all relevant details regarding installing Ryzen 7 5800X. You need a CPU and a cooler with the heat paste to perform this installation. AMD processors have pins for easy installation but are less durable, so you must be careful when installing them to prevent them from breaking or bending. Follow the above steps to install your new CPU and overclock it after installation for better performance.

Meet James Wood, founder of PC Hube – your trusted source for all things Ryzen. With unbiased information and clear reviews, James’ expertise has made PC Hube the go-to platform for buying Ryzen machines. Explore the world of Ryzen with us on PC Hube.


